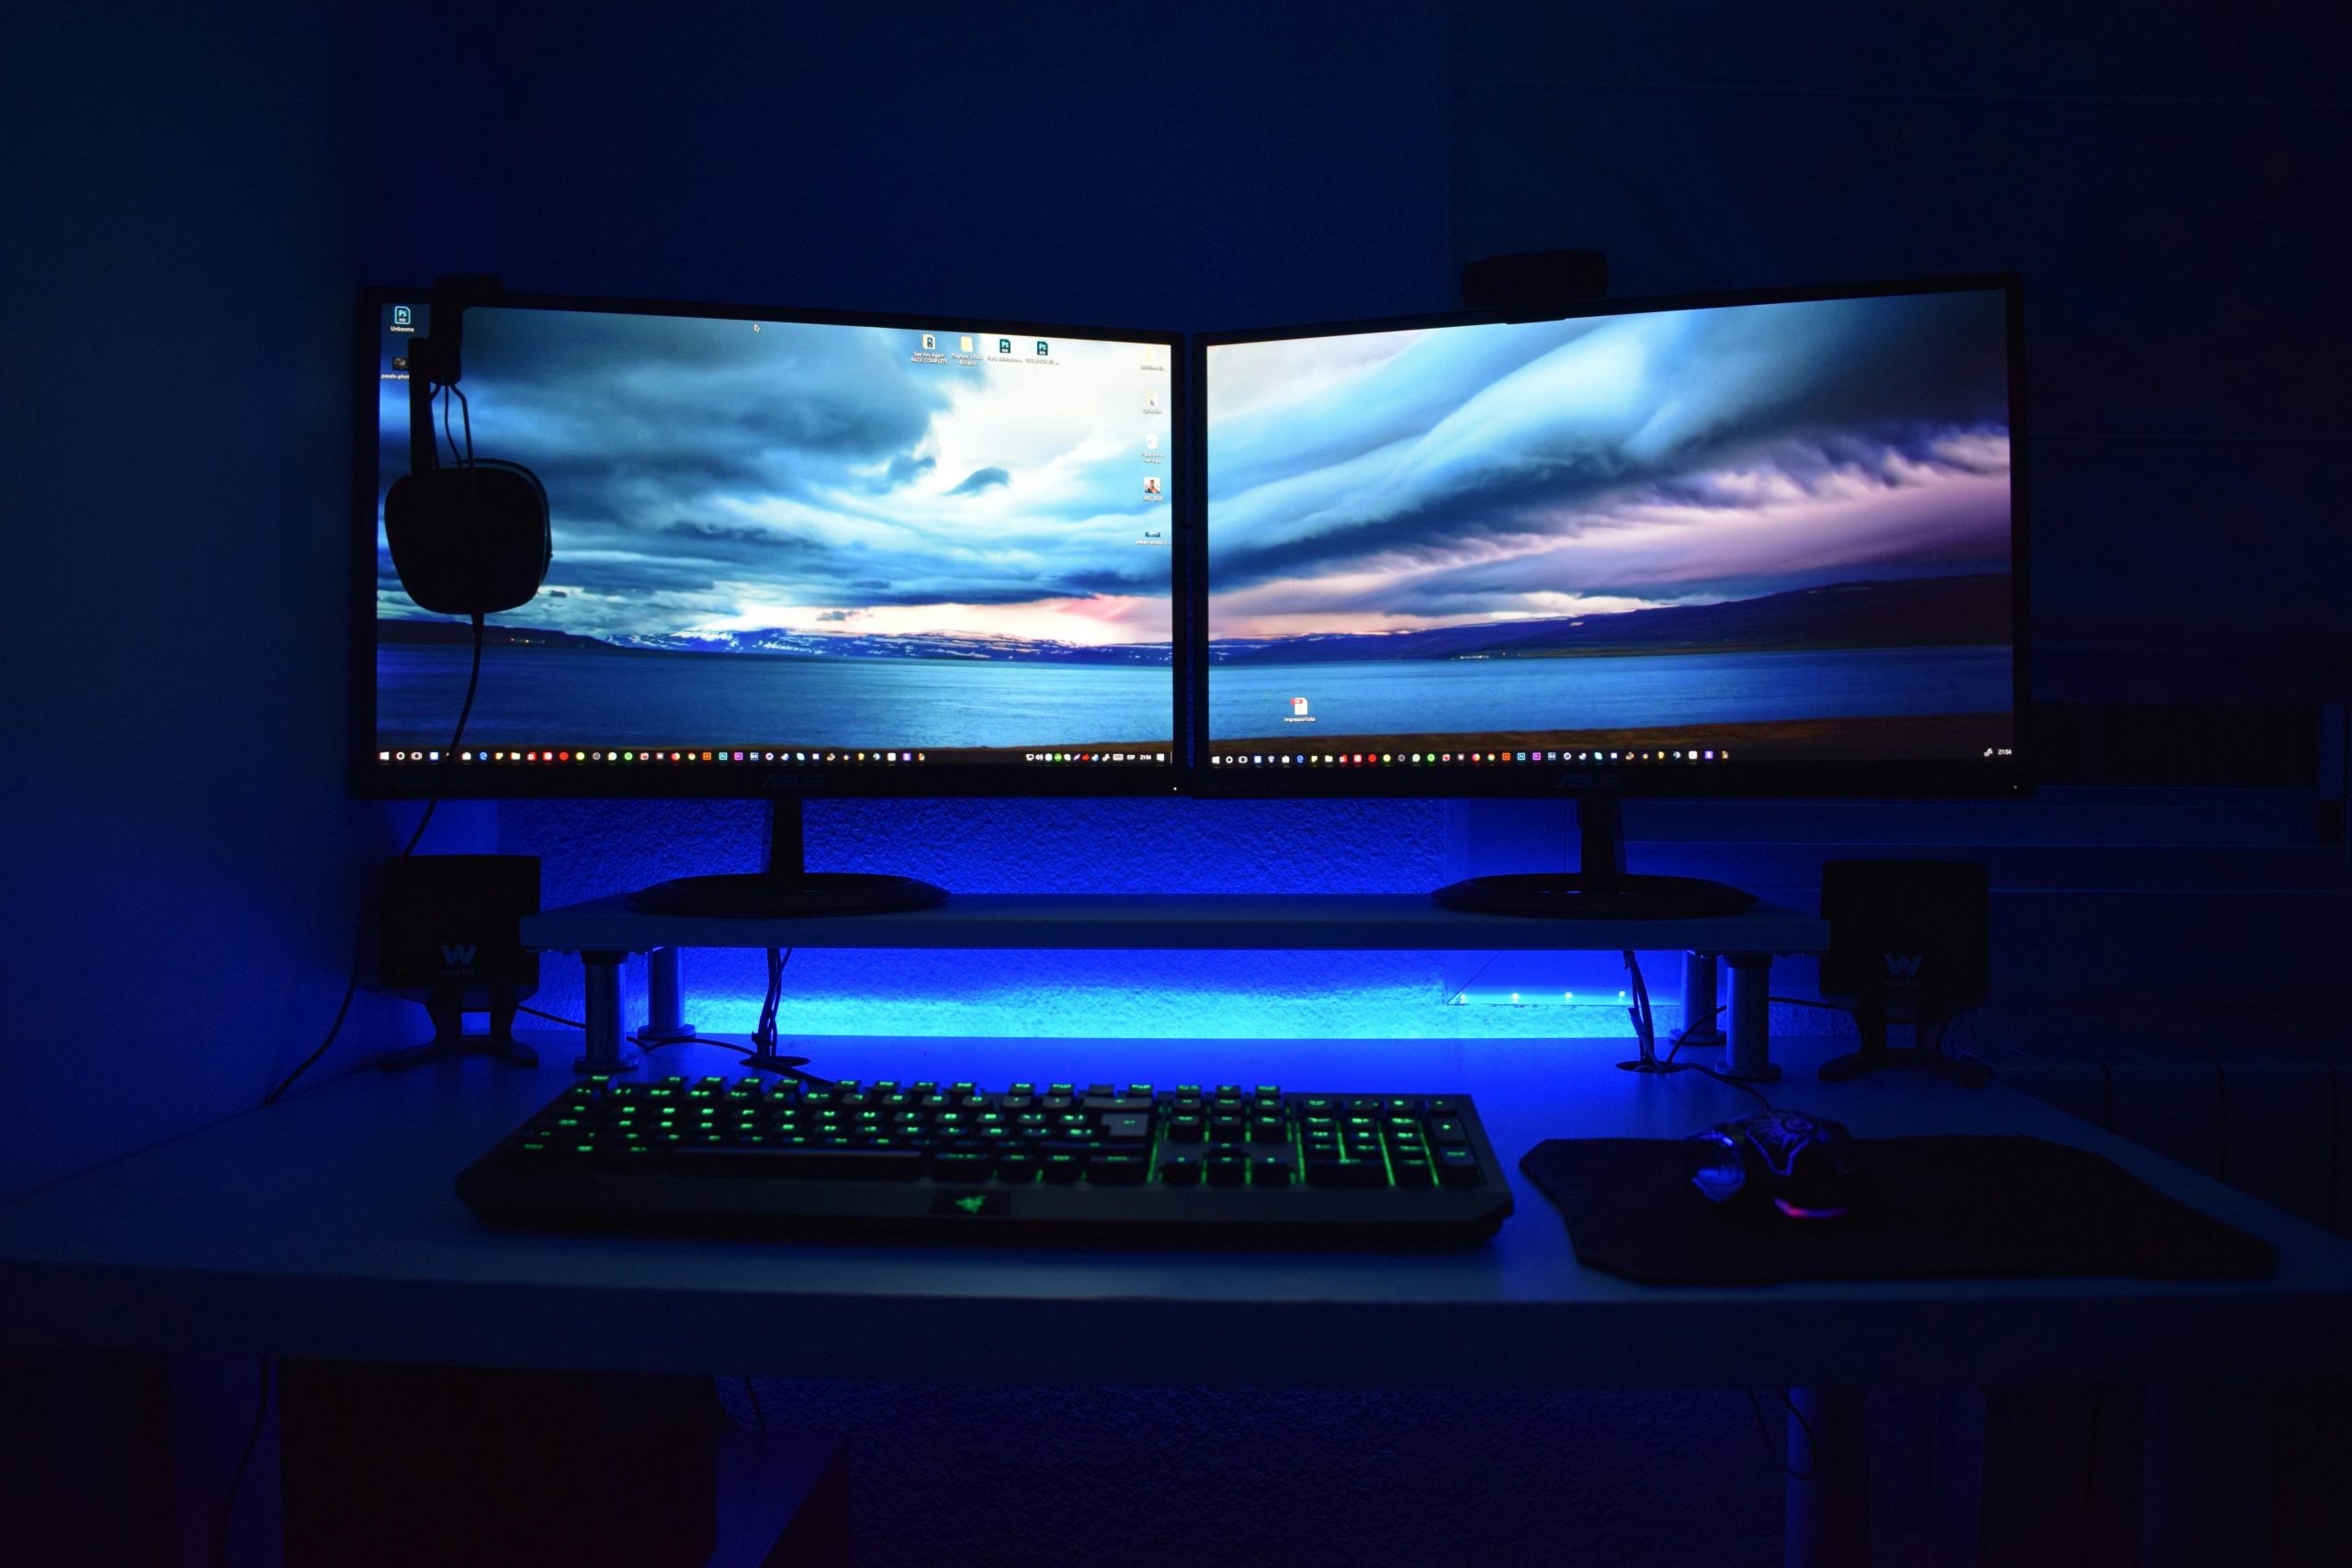
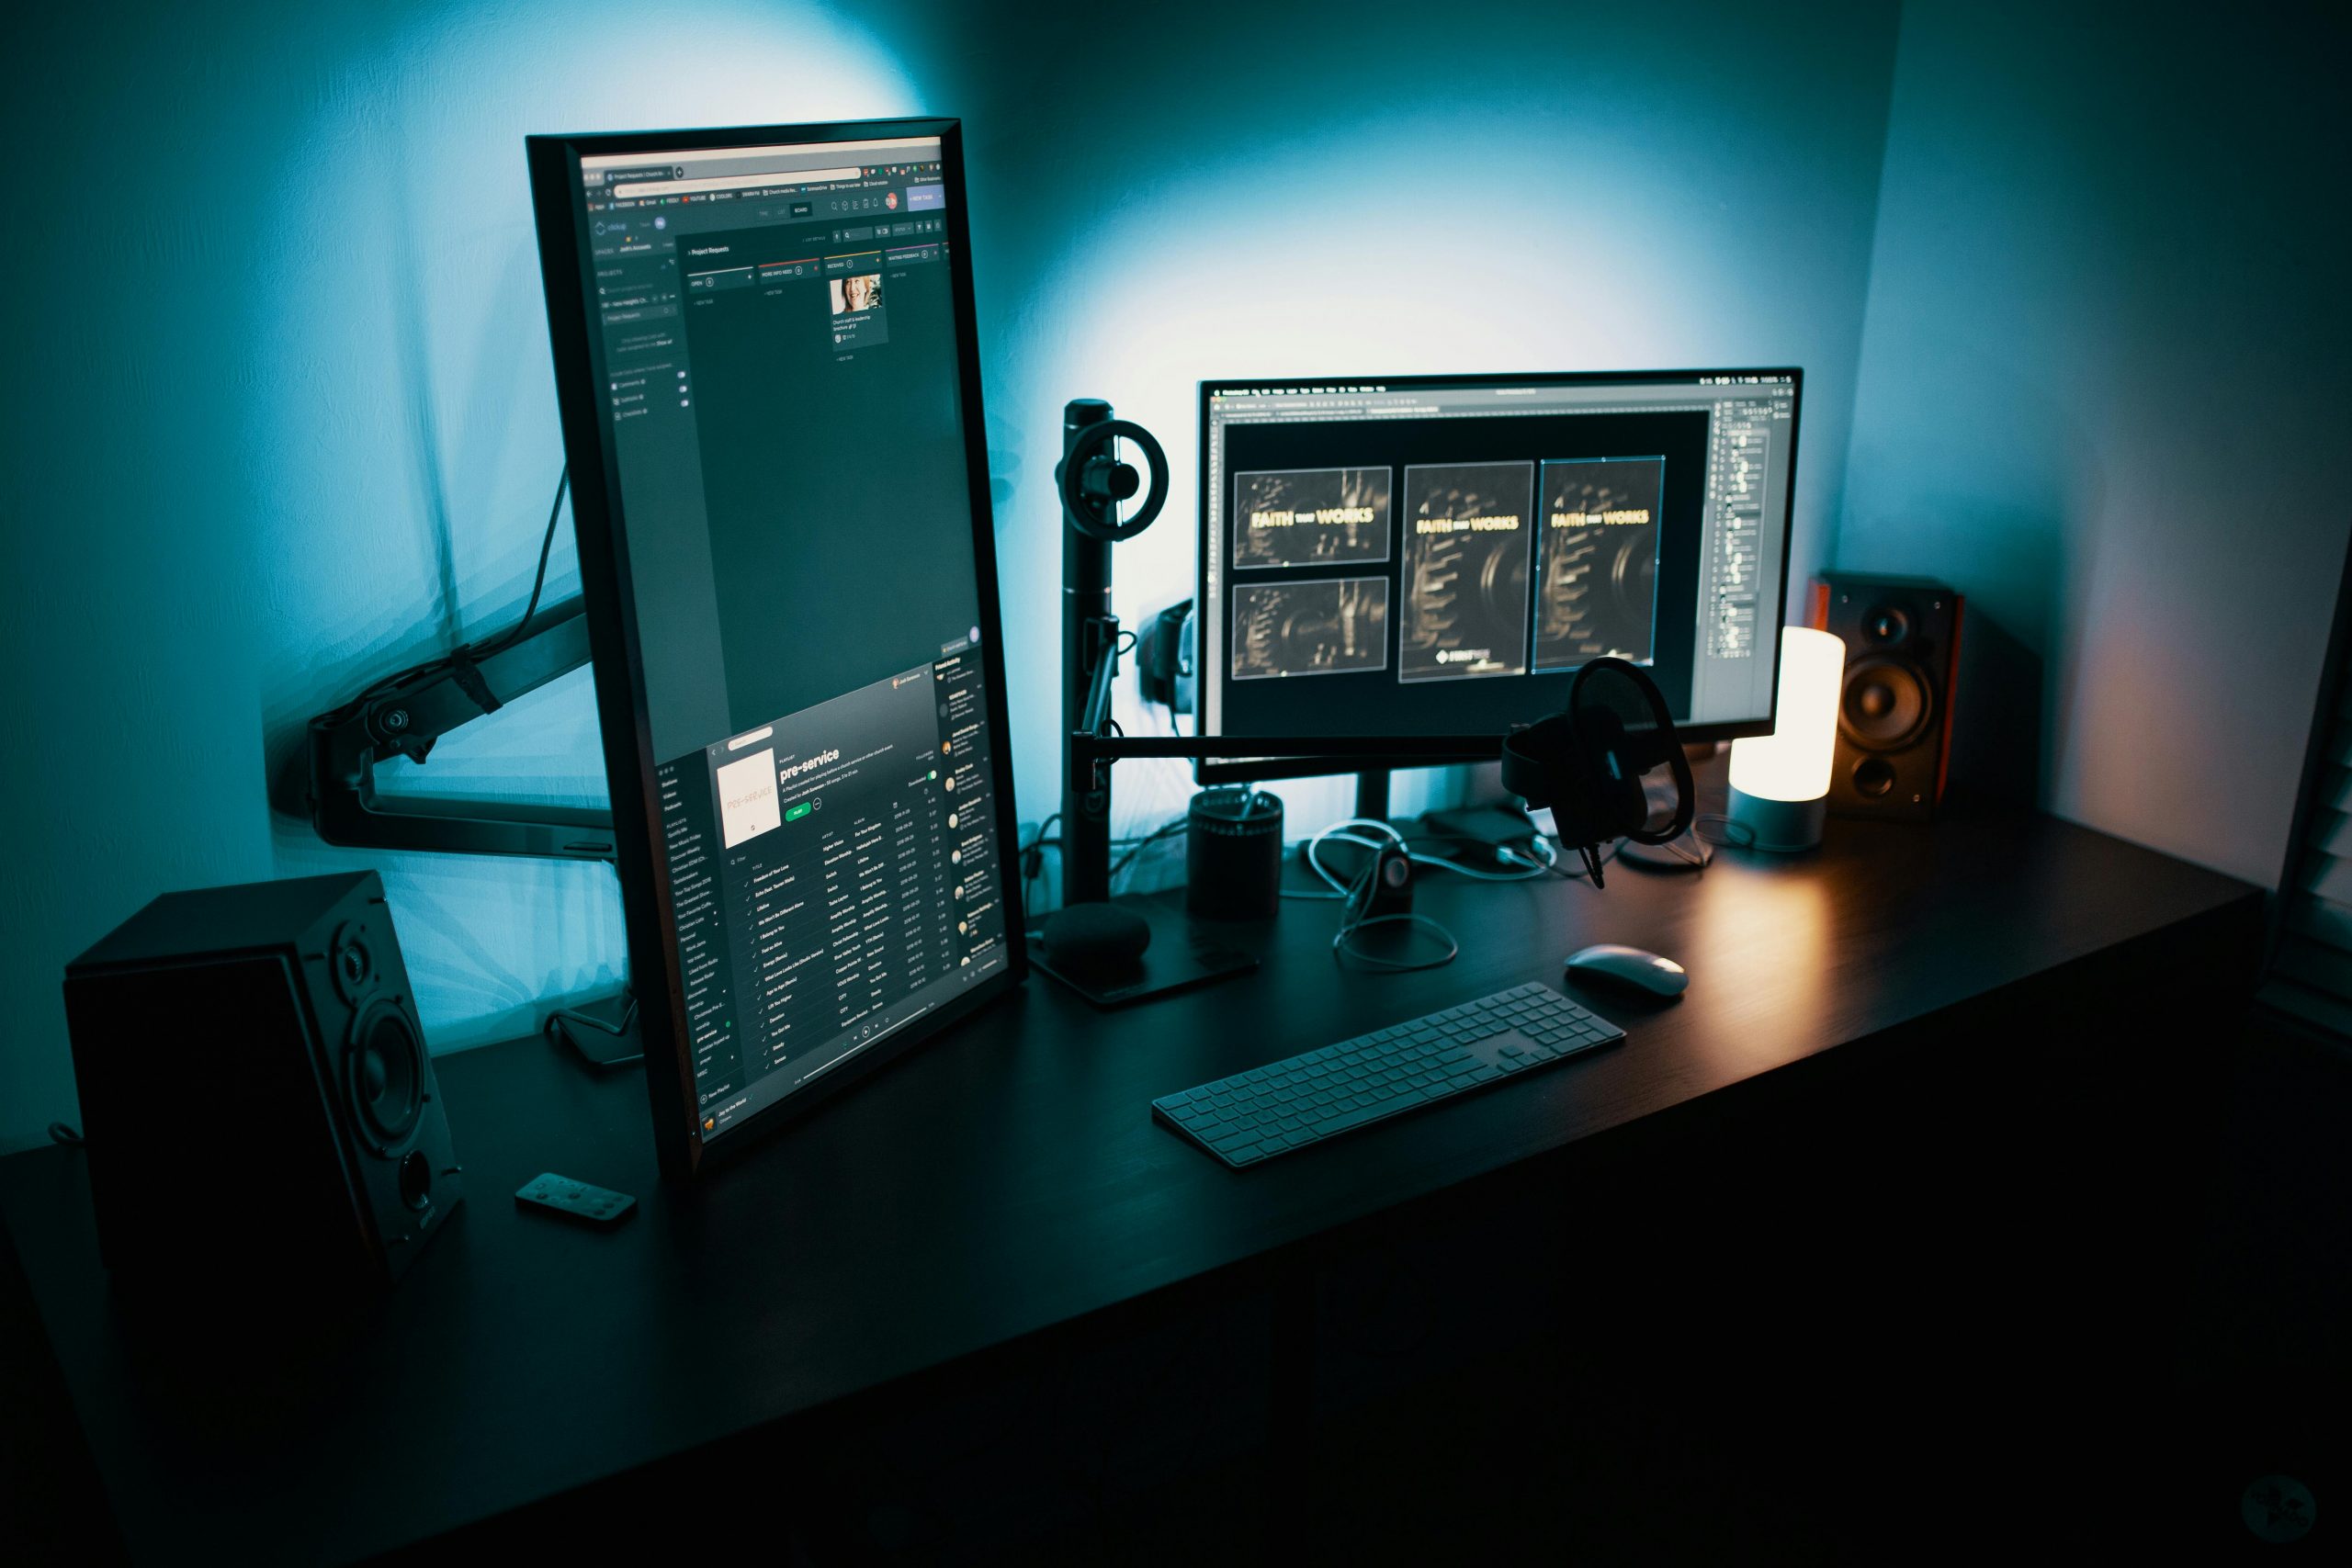
Setting up two monitors can make your life a lot easier. Whether you’re working from home, gaming, or just want more screen space, a dual-monitor setup helps you multitask better and get more done.
This guide explains everything in simple steps. You’ll learn what you need, how to connect your monitors, and how to adjust your settings for the best experience.
Why Use Two Monitors?

Before we jump into the setup, let’s look at some reasons why two monitors are better than one:
- More space for apps and windows
- Easier multitasking (e.g., watching a video while browsing)
- Better productivity when working with documents or spreadsheets
- Improved gaming and streaming setups
- Simpler workflows for creative tasks like editing photos or videos
If you’ve ever felt cramped on one screen, adding a second one can make a big difference.
What You Need Before You Start
Before connecting two monitors, make sure you have the right equipment. Start by checking if your computer or laptop has more than one display port. Then, gather the necessary hardware to avoid interruptions during setup.
You’ll need:
- A computer or laptop with at least two video output ports (like HDMI, DisplayPort, or USB-C).
- Two monitors, which can be matching models or different brands and sizes.
- The right cables, such as HDMI, DisplayPort, VGA, USB-C, or DVI, depending on your devices.
- Adapters, if your monitor ports don’t match your computer’s outputs (e.g., HDMI-to-VGA or USB-C-to-HDMI adapters).
You should also be familiar with common monitor connection ports:
- HDMI – Most common port; supports both audio and video.
- DisplayPort – Great for high-resolution or high-refresh-rate monitors.
- VGA – An older analog video-only connection, less common now.
- DVI – Older digital video port, still found on some monitors.
- USB-C – Modern port found on newer laptops and desktops; can carry video, data, and power.
Having these items and knowledge ready makes connecting two monitors much smoother.
Step-by-Step: How to Connect Two Monitors on Windows
Adding a second monitor to your Windows computer is easier than you might think. Here’s a step-by-step guide to help you do it safely and correctly.
- Plug in Both Monitors
Before you begin, it’s a good idea to turn off your computer to avoid any risk of hardware damage—especially if you’re using older systems.
- Power off your computer completely.
- Connect each monitor to your PC using the correct cables (HDMI, DisplayPort, VGA, DVI, or USB-C).
- Double-check that each monitor is securely plugged into a power outlet and switched on.
- Turn your computer back on once all cables are in place.
- Detect the Monitors
Once your system powers up, Windows should recognize both screens automatically. If not, you’ll need to help it find the second monitor manually.
- Right-click anywhere on your desktop.
- Select Display settings from the dropdown menu.
- Scroll down and click Detect if your second monitor isn’t showing up right away.
- If the monitor still doesn’t appear, double-check your cable connections and try a different port.
- Arrange the Monitors
After detection, your screen will show two numbered rectangles that represent your monitors.
- Click and drag the boxes labeled “1” and “2” to match the actual setup on your desk (for example, side-by-side or stacked).
- This helps your mouse move smoothly from one screen to the other.
- Once you’re happy with the layout, click Apply to save your changes.
Tip: You can identify which monitor is which by clicking the Identify button—it will briefly display a number on each screen.
- Choose How You Want to Use the Screens
Under the Multiple displays section, you’ll find options for how you want the monitors to work together.
Choose from:
- Duplicate these displays – Shows the exact same content on both screens (useful for presentations).
- Extend these displays – Spreads your desktop across both monitors, giving you more screen space.
- Show only on 1 / Show only on 2 – Turns off one monitor and uses only the selected screen.
Best for productivity: Choose Extend if you want to use both screens to multitask—like keeping your browser open on one and documents or spreadsheets on the other.
How to Connect Two Monitors to a Laptop
Many modern laptops can connect to at least one external monitor, and some can handle two or more. Whether you’re working, gaming, or multitasking, adding extra screens can boost productivity and make your setup more flexible. Here’s how to do it step by step.
- Check Your Ports
Start by identifying the types of video output ports on your laptop. These are typically located along the sides or back of your device.
- Common ports include:
- HDMI
- USB-C (with video support)
- Mini DisplayPort
- Thunderbolt 3 or 4
- If your laptop only has one video output, you’ll need a docking station, USB-C hub, or display adapter to connect more than one monitor.
Tip: Not all USB-C ports support video output. Look for a lightning bolt or “DP” symbol next to the port, or check your laptop’s manual.
- Connect the Monitors
Now that you know which ports are available, it’s time to connect the monitors.
- Plug the first monitor into your laptop’s HDMI or USB-C port.
- To connect a second monitor, use:
- A docking station (ideal for workstations)
- A USB-C hub with multiple video outputs
- An HDMI splitter (note: most splitters only duplicate the display, not extend)
- Once everything is plugged in and powered on, your laptop should detect the monitors.
- Configure Display Settings
Once your laptop detects both monitors, you’ll need to configure how they display your desktop.
- Right-click on your desktop and choose Display settings.
- You’ll see a layout with multiple numbered boxes representing each screen.
- Drag the boxes to match the physical placement of your monitors.
- Scroll to the Multiple displays section and choose your preferred setup:
- Duplicate – Same content on all screens
- Extend – Stretch your desktop across all monitors
- Second screen only – Use external monitors, turn off laptop screen
- Click Apply to save your settings.
Pro Tip: Extending your display is great for multitasking—use one screen for browsing, another for editing documents, and another for email or communication.
How to Connect Two Monitors on a Mac
Adding two monitors to your Mac can make a huge difference in productivity, especially if you’re multitasking, editing, or working with large files. Whether you’re using a MacBook, iMac, or Mac Mini, here’s how to connect and configure dual monitors step by step.
- Check Your Mac’s Compatibility
Before you plug anything in, you need to know how many external monitors your Mac can support. Not all models can handle two screens.
- MacBook Air (M1 & M2): Supports only one external monitor natively. To use two, you’ll need third-party apps or a DisplayLink docking station.
- MacBook Pro (M1 Pro, M1 Max, M2 Pro, M2 Max): Can support two or more monitors, depending on the chip.
- Mac Mini:
- M1 Mac Mini supports one HDMI and one Thunderbolt display.
- M2 Mac Mini supports up to two displays.
- iMacs: Vary by model. Most newer iMacs support at least one external display, and some can handle two.
Check your Mac’s official specs on Apple’s website if you’re unsure.
- Plug in the Monitors
Once you know your Mac can support two screens, connect each monitor using the right ports.
- Most Macs have Thunderbolt, USB-C, or HDMI ports.
- Depending on your monitor and Mac, you may need an adapter, such as:
- USB-C to HDMI
- Thunderbolt to DisplayPort
- USB-C hubs or docking stations for more connections
- Connect both monitors to the Mac and power them on.
Tip: Make sure your cables and adapters support the correct resolution and refresh rate for your monitors.
- Go to Display Settings
Once your monitors are connected, you can adjust how they’re used through your Mac’s display settings.
- Click the Apple logo in the top-left corner.
- Choose System Settings (or System Preferences if you’re using macOS Monterey or earlier).
- Select Displays from the sidebar.
- You’ll see a visual layout of your connected monitors.
- Drag and arrange the display boxes to match your physical setup.
- Under display mode options, choose:
- Extend Display – Use each monitor as a separate screen for more workspace.
- Mirror Display – Show the same content on both screens.
Most users prefer “Extend” to multitask efficiently across multiple screens.
Tips for a Better Dual Monitor Setup
Want a smoother experience? Try these tips:
- Use a monitor stand for better ergonomics.
- Keep cables tidy with clips or zip ties.
- Use the same screen resolution for both monitors.
- Adjust brightness and color settings to match.
- Enable Night Light or Dark Mode to reduce eye strain.
Common Problems & How to Fix Them
Even when you follow all the steps correctly, sometimes things don’t go as planned. Here are some of the most common problems people run into when setting up two monitors—and how to fix them quickly.
Monitor Not Detected
If your second monitor isn’t showing up at all, it’s likely a connection or detection issue.
- Make sure all cables are securely plugged in.
- Try using a different cable or switching to another port on your computer.
- Restart your computer and go back to the Display settings to manually detect the monitor.
Tip: On Windows, right-click the desktop, select “Display settings,” and click “Detect.” On Mac, go to System Settings > Displays.
Resolution Looks Wrong
Sometimes, everything connects fine, but one monitor looks blurry or stretched. That’s usually a resolution problem.
- On Windows:
- Right-click the desktop → Choose Display settings
- Scroll to Advanced display settings
- Pick the right resolution for each monitor based on what the screen supports.
- On Mac:
- Go to Apple menu → System Settings → Displays
- Select a monitor and choose “Scaled” to pick a resolution manually.
Make sure each monitor is set to its native resolution for the best picture quality.
One Monitor Flickers or Stays Black
A flickering or blank screen is often caused by a bad cable, outdated drivers, or power issues.
- Try swapping the video cable or using a different port.
- Plug the monitor into a different power outlet or test it with another device.
- Update your graphics drivers using your PC manufacturer’s website or software like NVIDIA or AMD tools.
- Disconnect all monitors and test one at a time to rule out hardware issues.
If the monitor only works when used by itself, your computer may not support multiple displays without an adapter or external graphics solution.
Using a Docking Station or USB-C Hub
If your computer doesn’t have enough ports, a docking station or USB-C hub is a great solution. It gives you more ports for:
- HDMI
- DisplayPort
- Ethernet
- USB-A and USB-C
It’s especially helpful for laptops or ultrabooks that have only one port.
Can You Use Different Brands or Sizes?
Yes, you can mix and match monitors.
However:
- Different sizes may look odd when placed side-by-side.
- Color differences might affect editing tasks.
- Different resolutions can make dragging windows across screens awkward.
If possible, choose monitors with similar specs for the smoothest setup.
How to Use Two Monitors Efficiently
Once your screens are connected, use these tricks to work smarter:
- Use keyboard shortcuts like Windows + Shift + Left/Right to move windows.
- Drag apps between monitors easily.
- Pin specific apps (like email) to one screen.
- Use one screen for work and one for reference or entertainment.
- Try free software like DisplayFusion or Dual Monitor Tools for more control.
Extra Tools to Enhance Your Setup
Here are some helpful accessories and tools:
- Monitor arm or mount – Adjust height and angle easily.
- Cable organizer – Keeps your desk tidy.
- Screen splitter software – Helps divide your screen into zones.
- Wireless keyboard and mouse – More flexibility if using a laptop.
Final Thoughts
Learning how to connect two monitors is easier than it sounds. With just a few cables and some quick settings, you can turn your single-screen setup into a powerful dual-display workspace.
Whether you’re working, gaming, or just want more room to browse and watch, dual monitors can make your setup more productive and comfortable.
Once you get started, you’ll wonder how you ever managed with just one screen!